
Table of Contents
CLI : Command-Line Interface
The .NET command-line interface (CLI) is a cross-platform toolchain for developing, building, running, and publishing applications.
The .NET CLI is included with the .NET SDK and it is available on Windows, macOS, and Linux.
CLI contains the commands that allow us to create, compile and run a .NET project, in our project we will frequently use the following commands :
- new : dotnet new – Creates a new project.
- build: dotnet build – Builds a project and all of its dependencies.
run : dotnet run– Runs source code without any explicit compile or launch commands.- publish : dotnet publish – Publishes the application and its dependencies to a folder for deployment to a hosting system.
- add package : dotnet add package – Adds or updates a package reference in a project file.
- etc ….
Create new project
To create a .net 7 project using CLI, we will use the dotnet new command, but we must specify a template for this command.
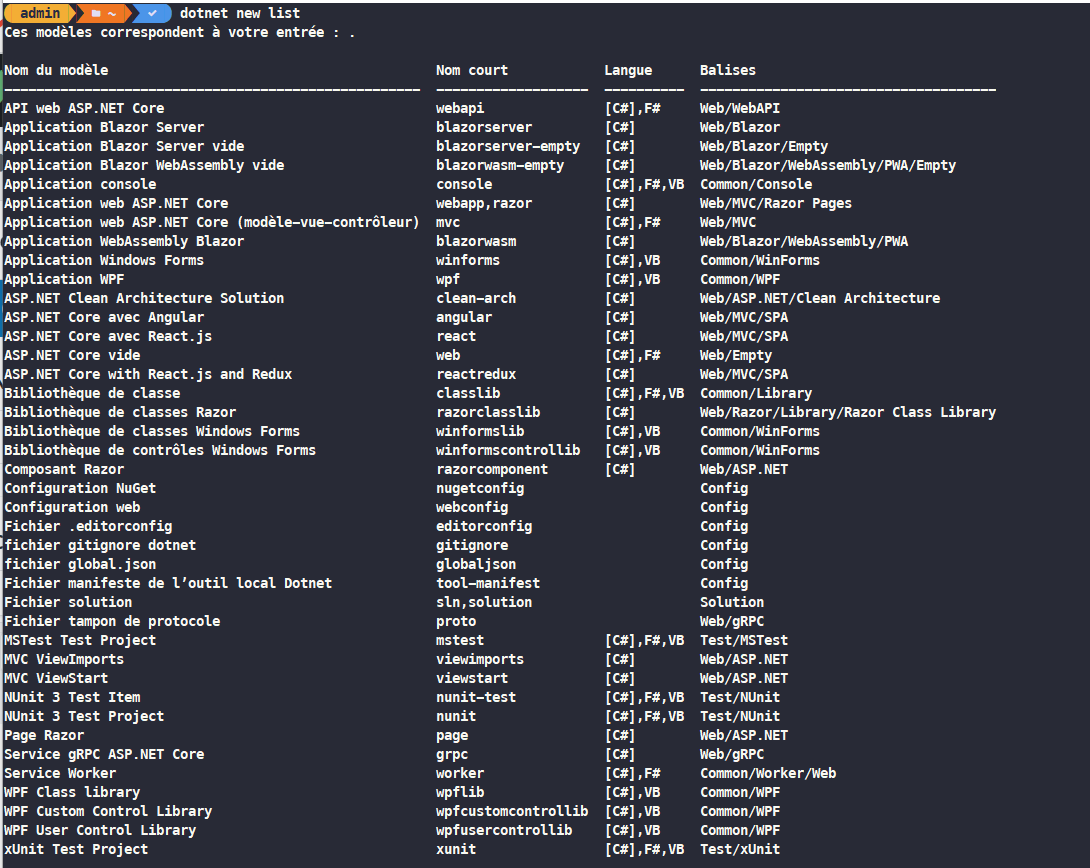
To list all the templates we must execute the following command:
dotnet new list
This command lists all the templates available in .NET SDK as shown in the following picture.
We will create a console project named “EFCoreNET7App” using the following command
dotnet new console -o EFCoreNET7App
After executing this command, our project is created, to open it with Visual Studio Code, we must change the directory to “EFCoreNET7App” with the command “cd EFCoreNET7App” and type the following command :
code .
And your project will be shown in visual studio code editor like this :